32bit-UEFI環境でLinux-MintをUSB-bootする
手持ちのノートPCであるASUS x205TAでLinux-Mint(インストール用のライブ版)をUSB-Bootしてみる。
[材料]
・ASUS x205TA
・USBメモリ(BUFFALO 16GB)
・Linux-Mint(18.1-mate-32bit)
[注意点]
・従来BIOSではなくUEFI(詳しくは勉強中)環境
・CPUが32bitであること
どうやらRufus等のOSのイメージファイルをUSBメモリに書込みツールを実行するだけでは手順が不十分のよう。
PCは下記↓
USB-Boot可能なUSBメモリの作成
Linux-Mintのダウンロード
まずはBoot対象のOSイメージをダウンロードする。今回はMATE(32bit)を選択。
Linux Mint 18.1 “Serena” – MATE (32-bit) – Linux Mint
RufusでOSイメージを書込み
下記からダウンロードしてLinux-Mint(isoファイル)をUSBに書き込む
https://www.linuxmint.com/edition.php?id=227
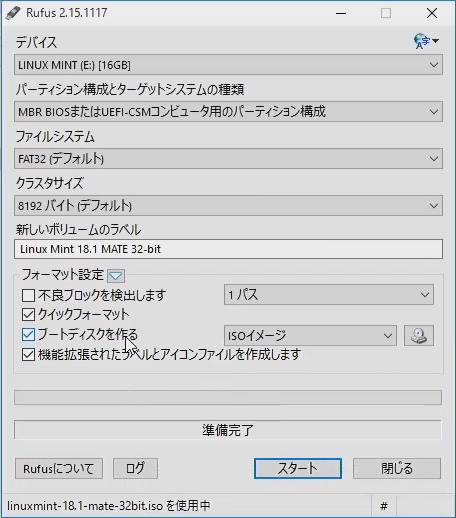
途中syslinuxについてメッセージが表示されるが今回は関係ないので気にせずOKボタンを実行。
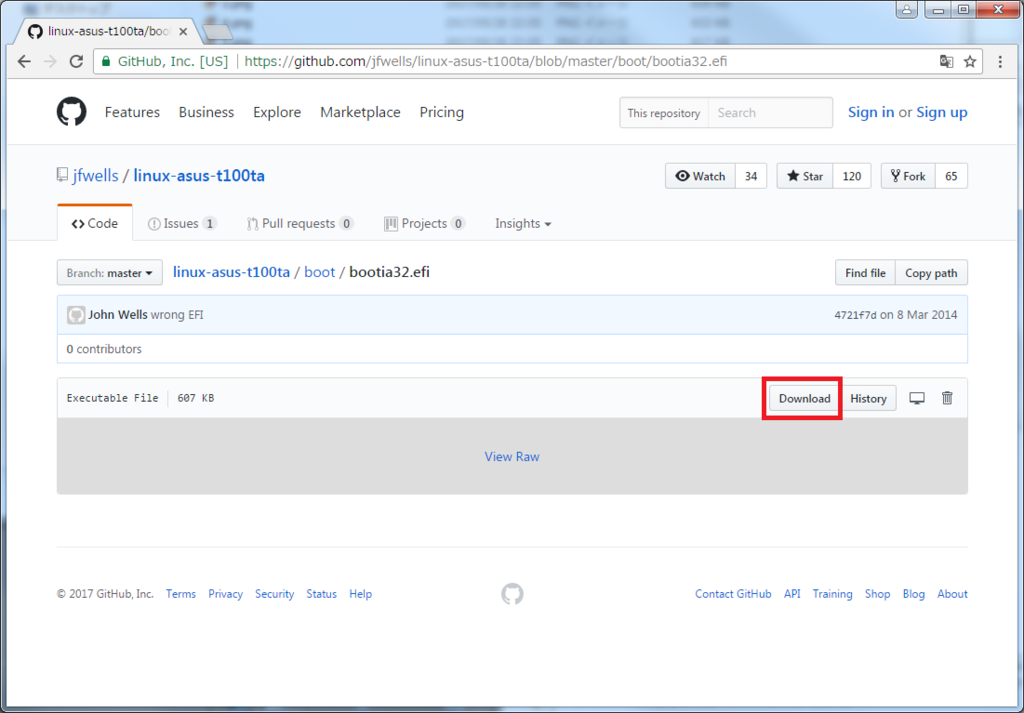
ブートローダのダウンロード
対象のPCではRufusでUSBにインストールしたsyslinuxによる起動ができないため別途OSをキックする手段を用意する必要がある。
下記、先人の成果物(bootia32.efi)をお借りすることにした。
jfwells/linux-asus-t100ta (github.com)
USBメモリ直下に「EFI」の名前でフォルダを新規作成し、配下に「BOOT」のフォルダを作成し、そこにダウンロードしたbootia32.efiを配置する。
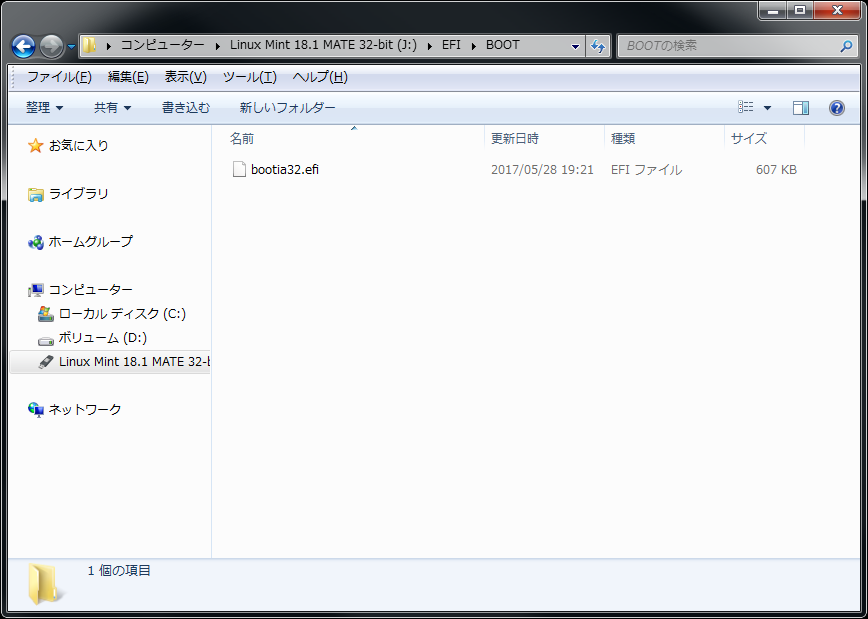
これでUSBメモリは準備完了。USBメモリを挿入した状態でPCを再起動する。
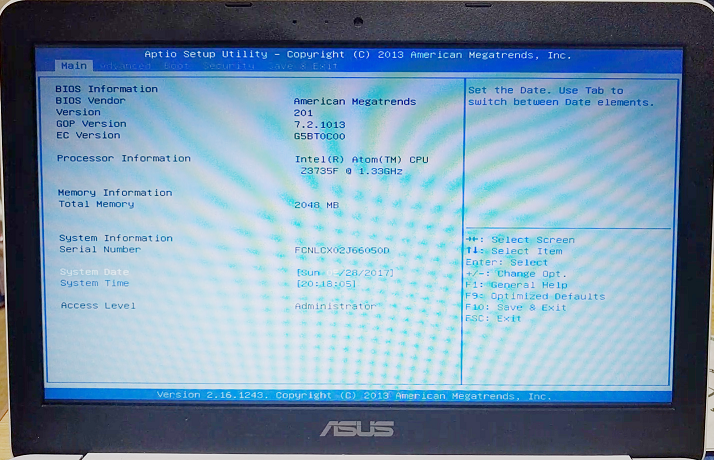
BIOSの設定
セキュアブート無効化とUSB起動の優先度設定
PCを起動直後に「F2」を連打してBIOSを起動する。
念のためUSB Controller Selectを「EHCI」に変更する

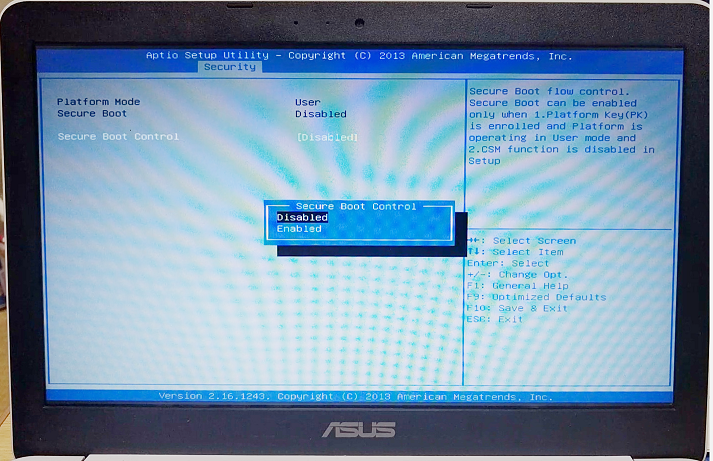
Secure Boot Controlを無効にする。
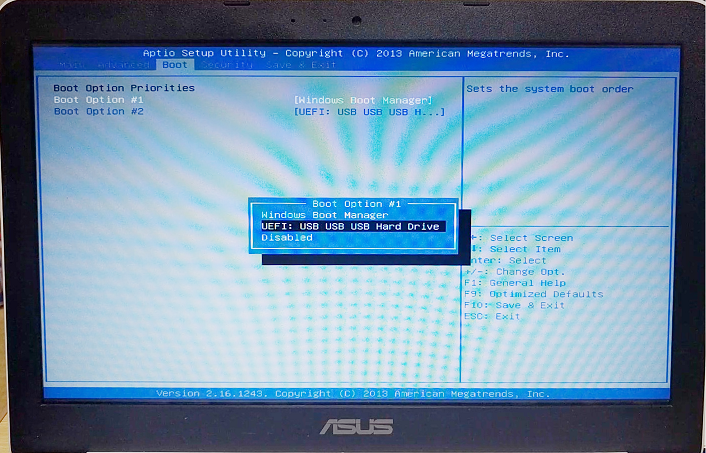
Boot Optionで「USB Hard Drive」の起動優先度を1番にする。
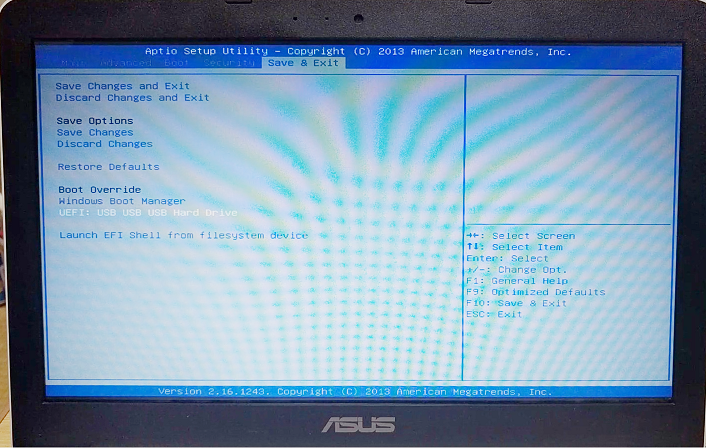
上記設定後、Boot Overrideで「USB Hard Drive」を選択しブートローダが起動するか確認する。
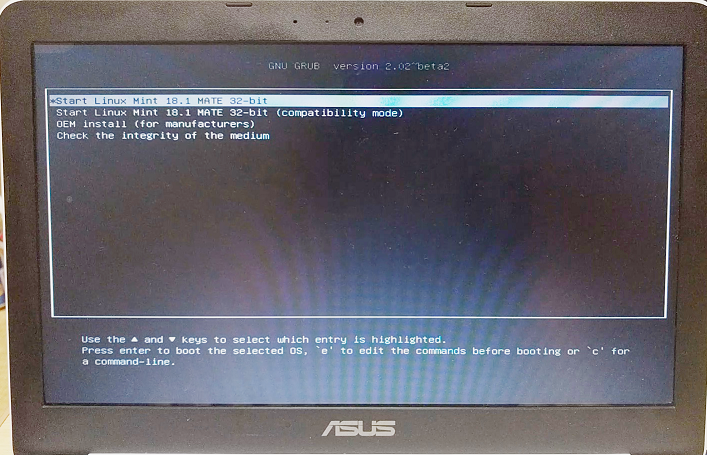
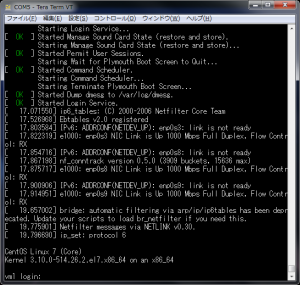
下記画面が起動すれば成功!


コメント